Change WiFi Password
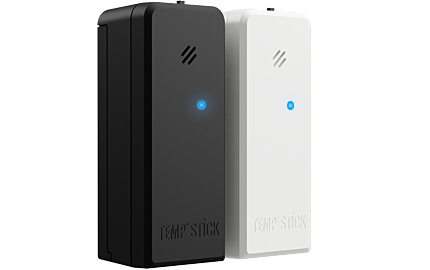
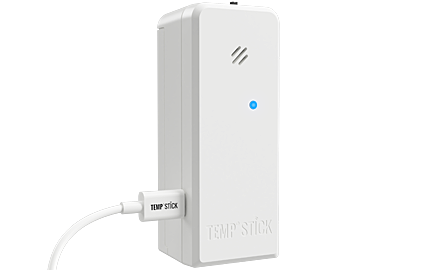
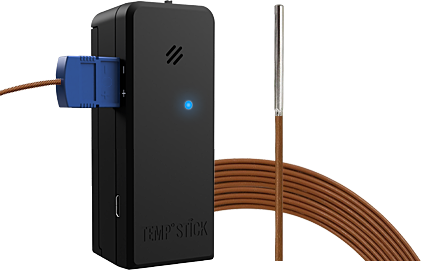
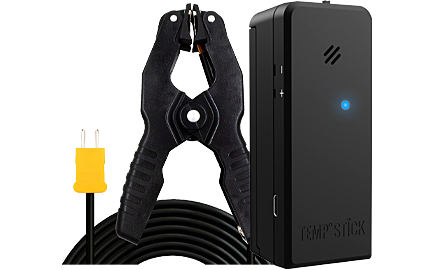
If you own a Temp Stick, there could be several reasons why you need to update its WiFi network information. Perhaps you have changed your WiFi password, moved the device to a new location, or upgraded your WiFi equipment.
To update your Temp Stick's WiFi information, simply follow these steps:
Temp Stick Version 2 Instructions:
Note: If you already have a steady blinking red light,
please proceed to step #2:
Step #1 - Enter Setup Mode:
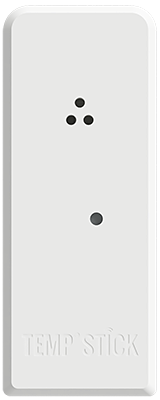
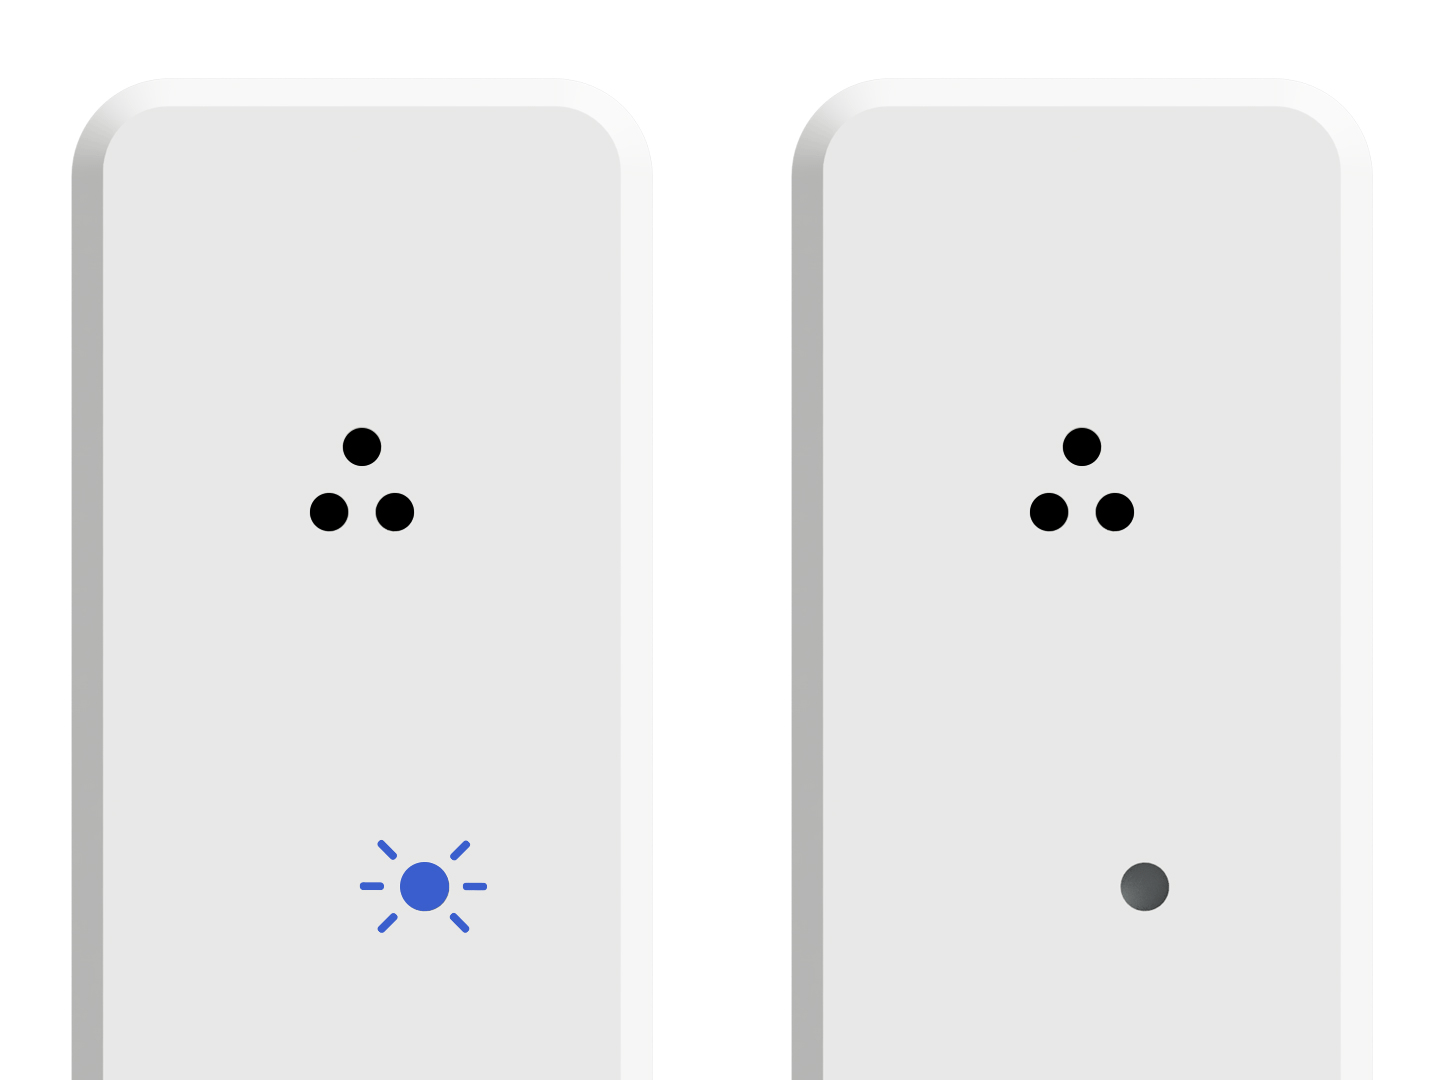
- While the device is powered on, hold down the reset button until the red light on the front of the Temp Stick turns on, then release (about 5-6 secs).
- Once you have a steady blinking red light you will be in setup mode.

(Step 1A)

(Step 1B)
#2 - Update your WiFi information through the app:
- Open the app and navigate to the "Sensors" section.
- Select the sensor for which you need to change the WiFi information.
- Scroll down to the "Network Details" section and locate the "Update WiFi" button.
- Click on the button and follow the in-app instructions to update your WiFi information.

